GPT Image 2 Prompt Engineering: A Complete Advanced Guide from Basics to Stable Generation
AI Review Lab
April 24, 2026
The same model and product, but different prompt structures can jump the pass rate from 30% to 80%. A comprehensive guide to prompt frameworks, edit flows, and parameterization for GPT Image 2.
The same model, the same product, but different prompt phrasing can jump the pass rate from 30% to 80%. This is not metaphysics; it is a methodology.
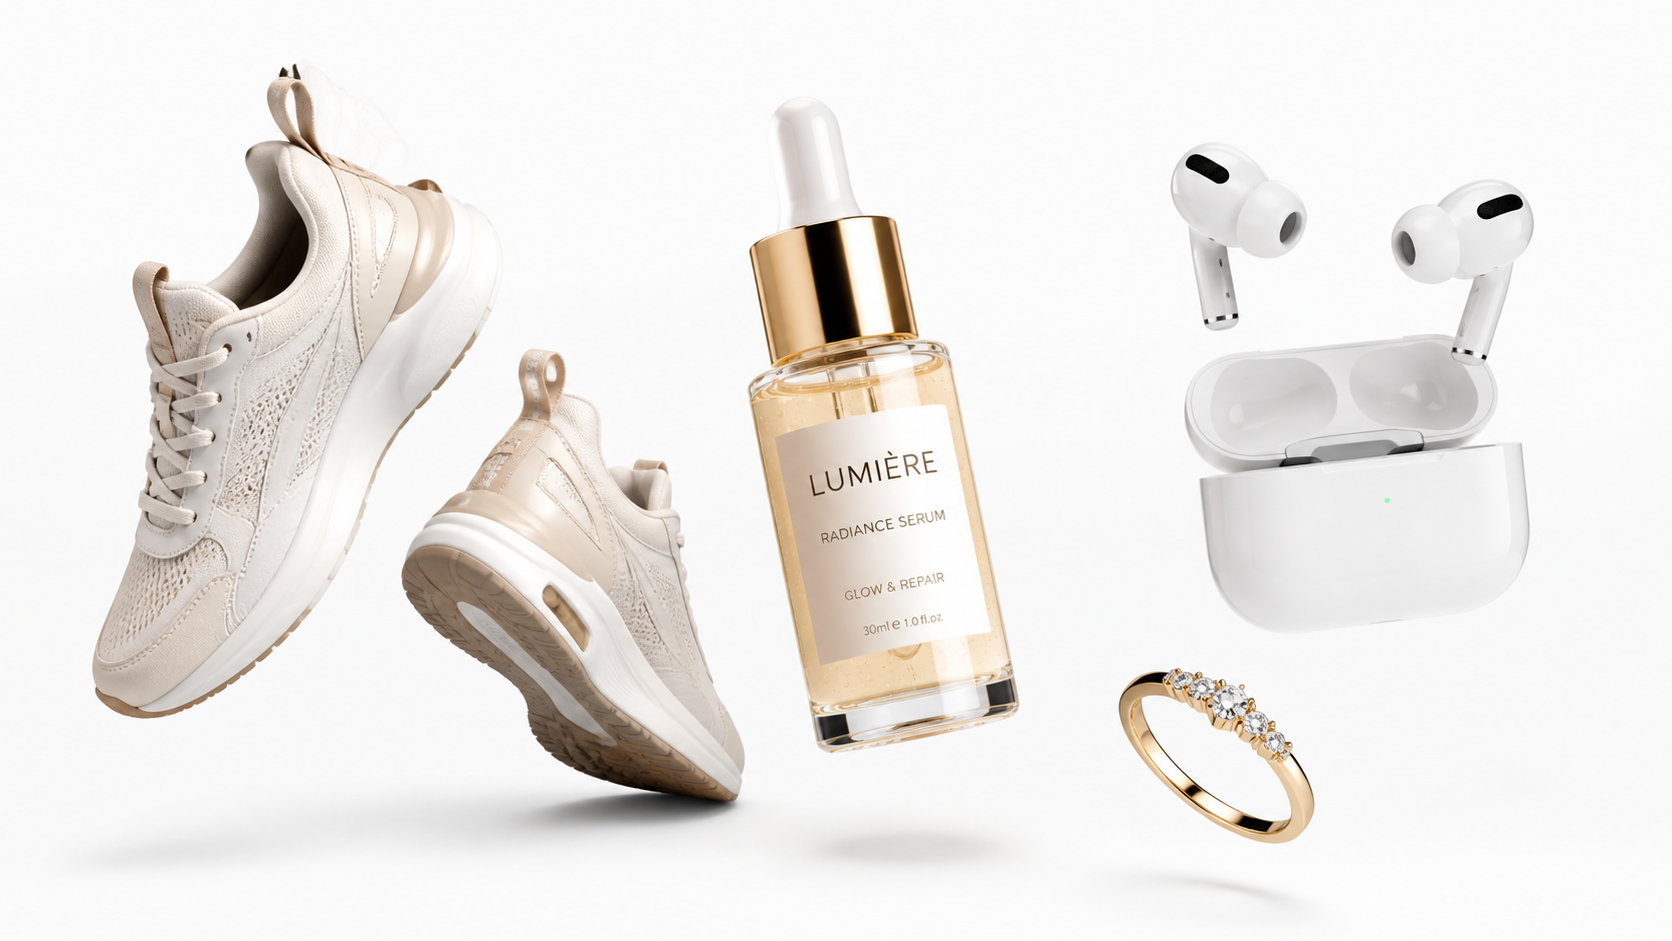
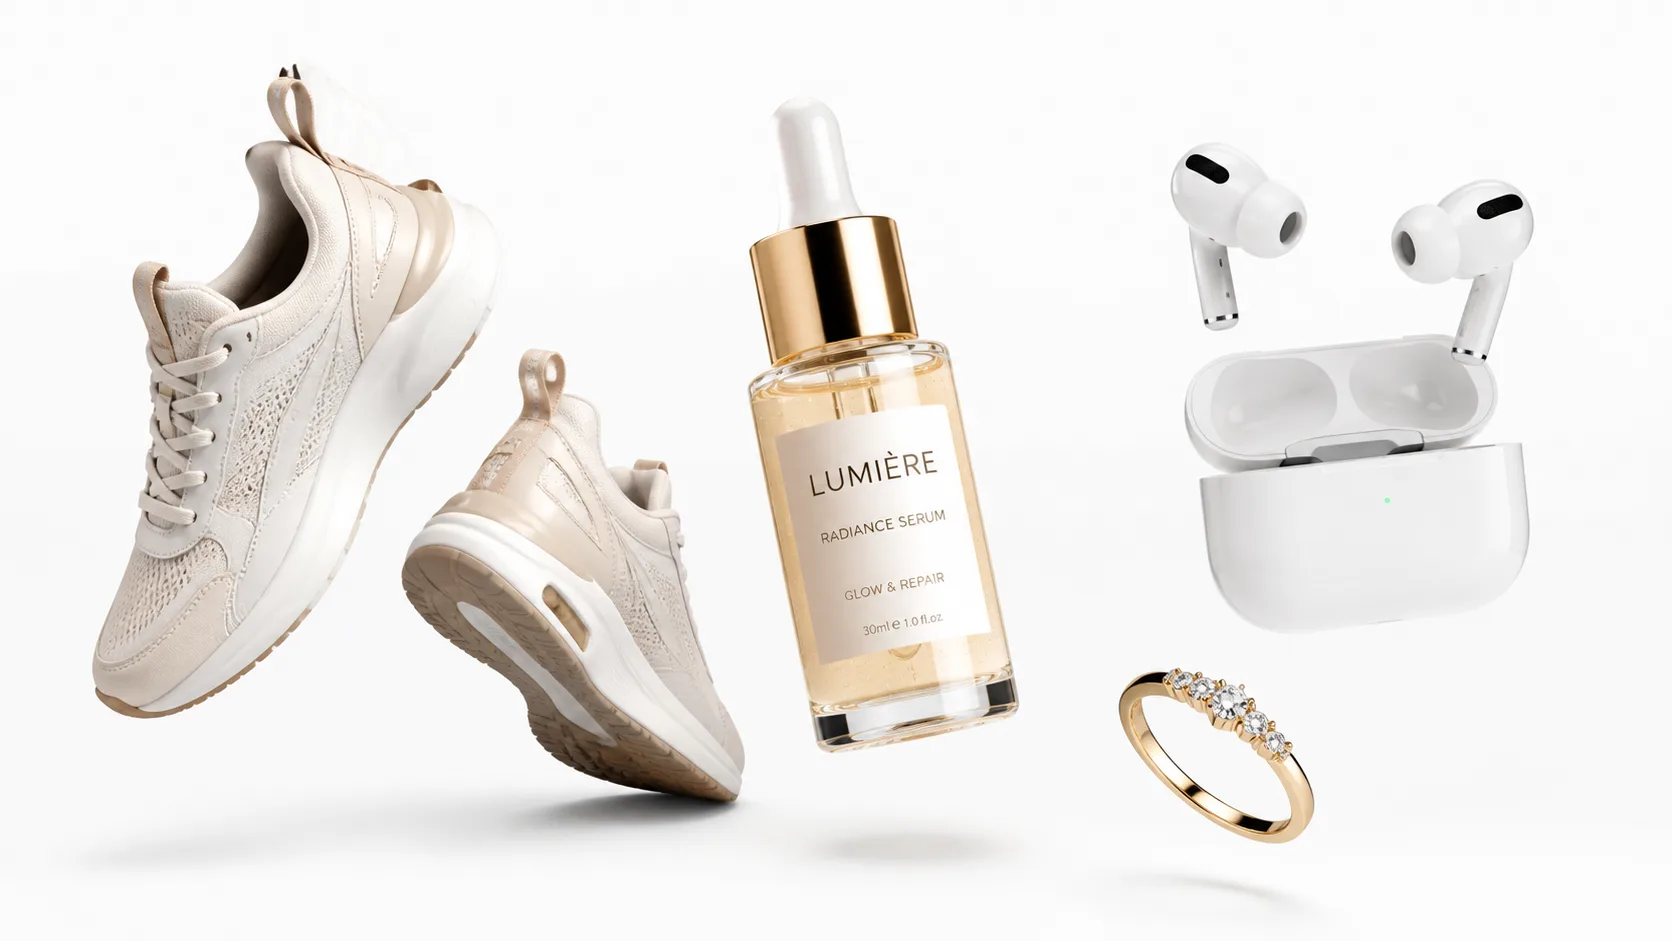
All product images in this article are generated using GPT Image 2.
Why Talk About Prompts Separately
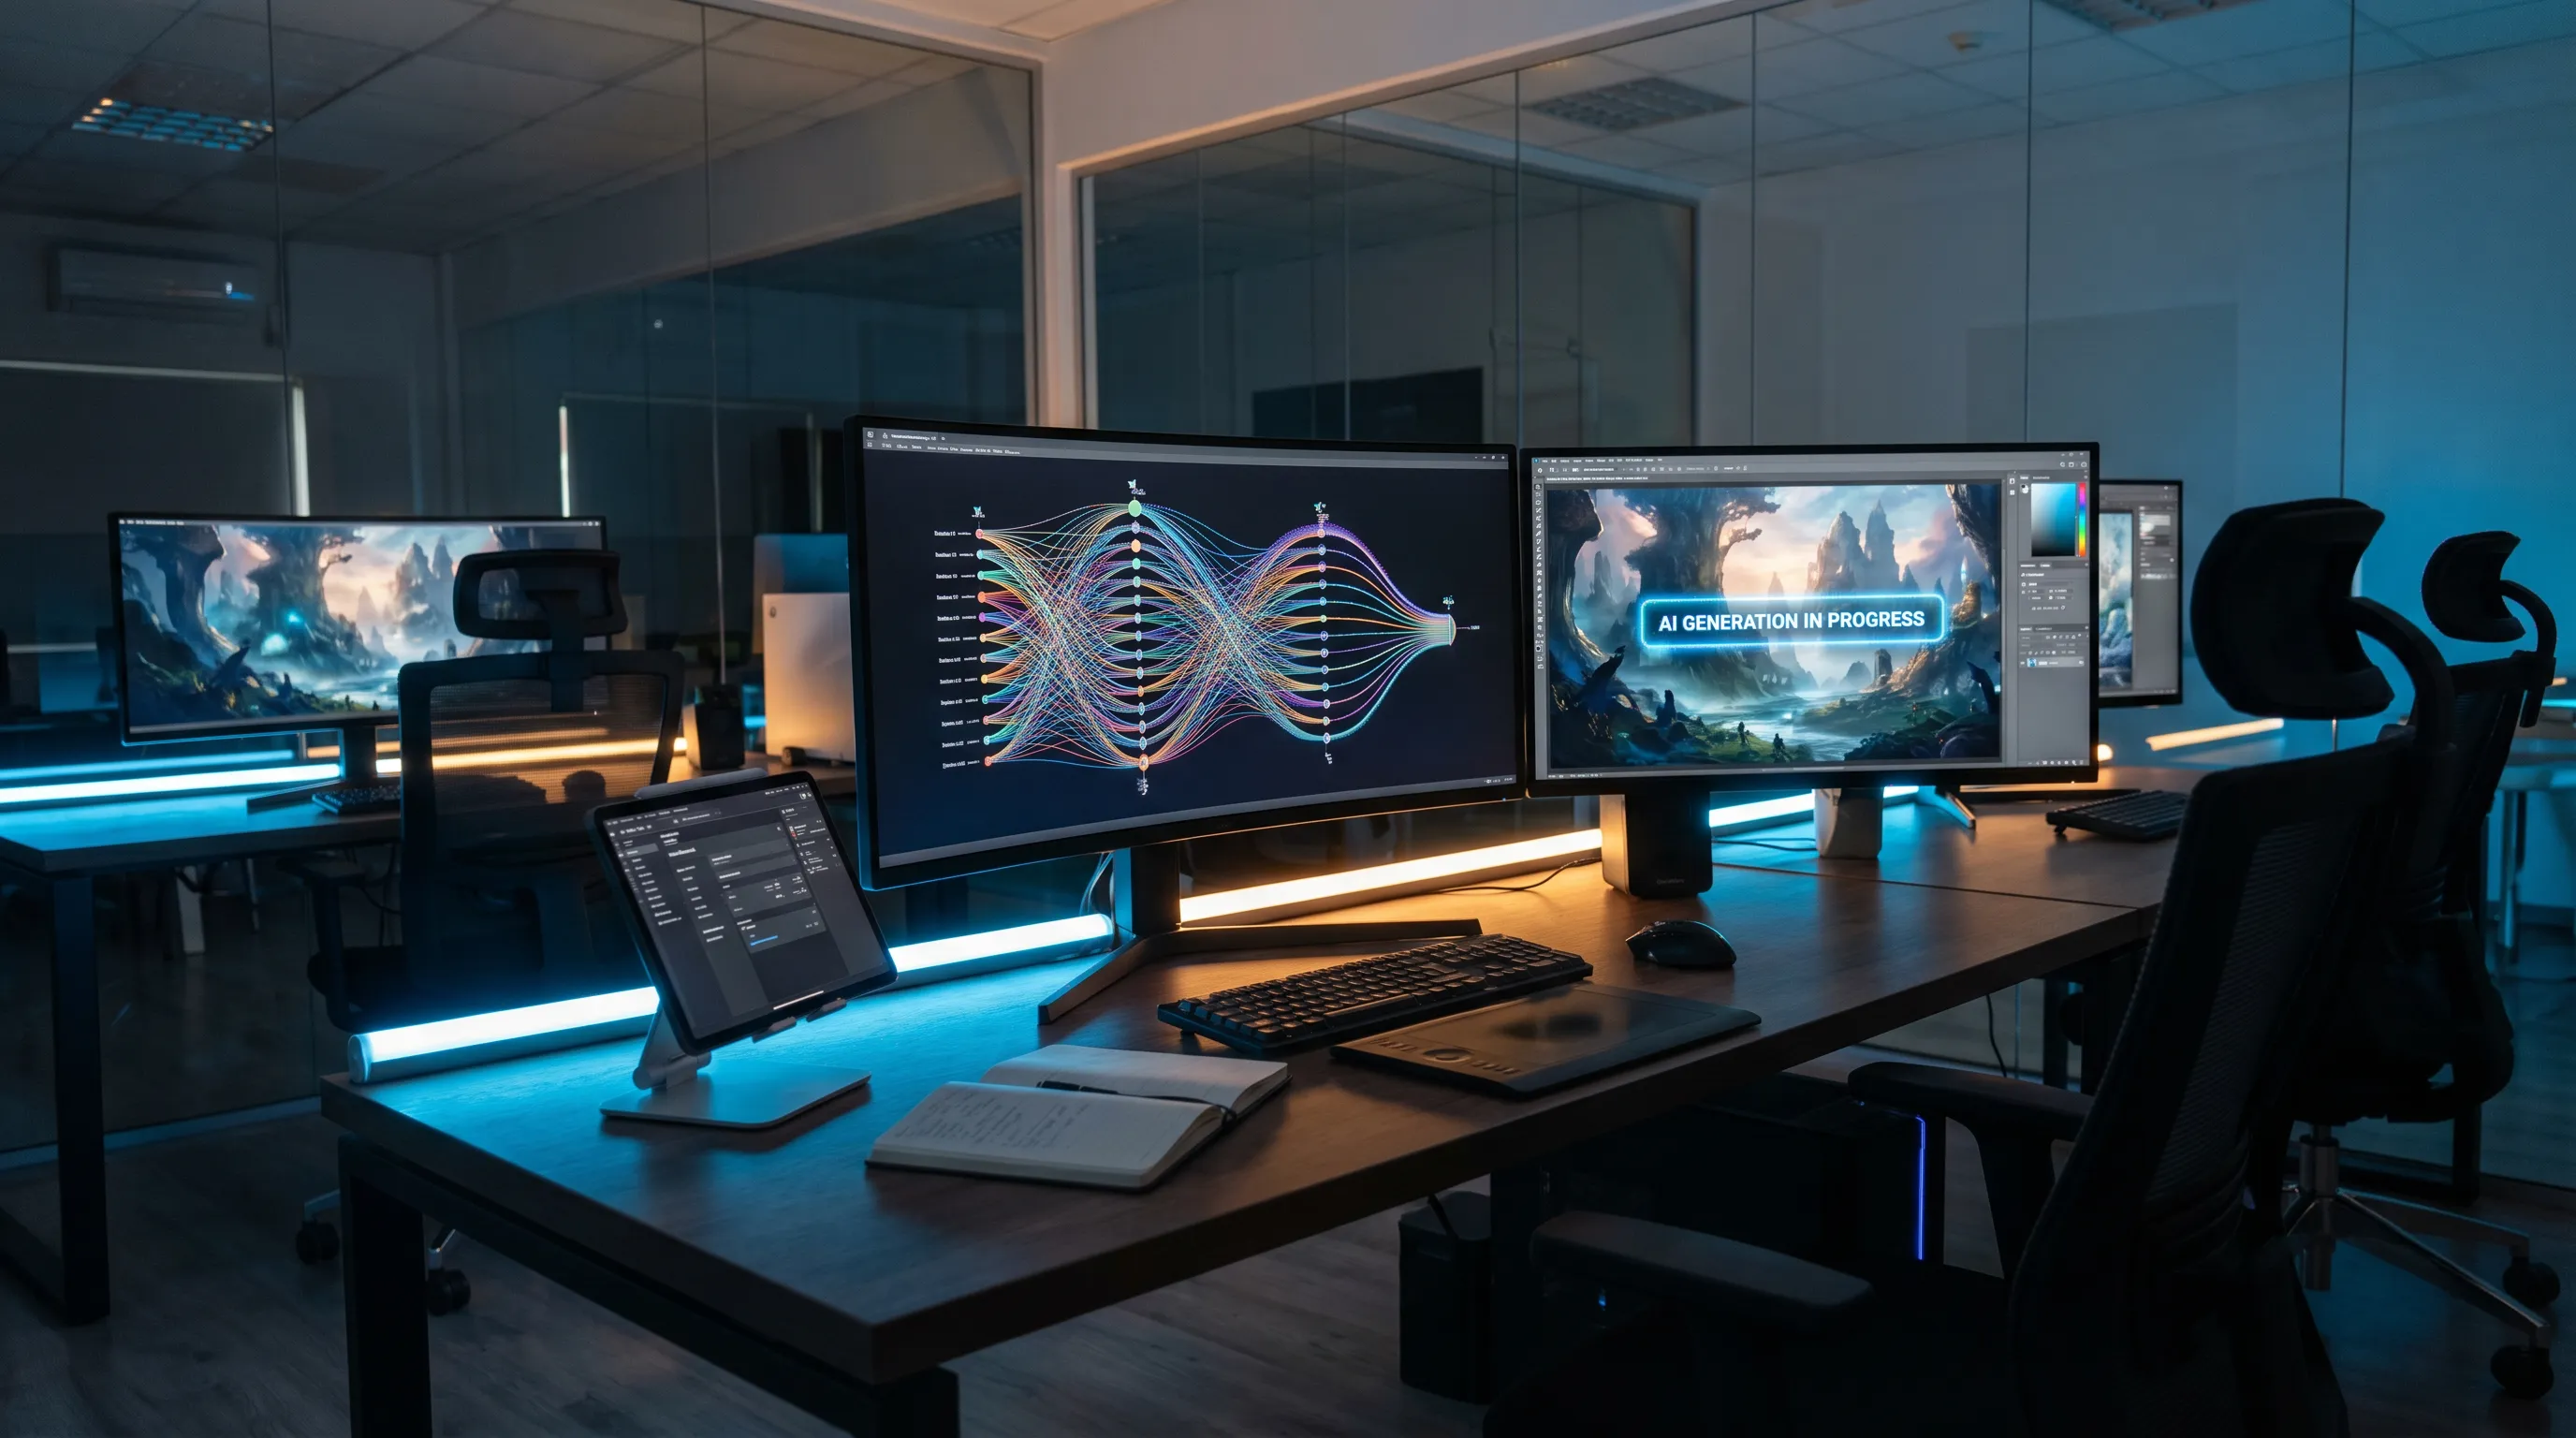
GPT Image 2 has a very high capability ceiling—it can generate realistic product photography, fine material textures, and accurate text rendering. However, there is a gap of prompt engineering between "what the model can do" and "what you can stably make it do."
Many people experience this: occasionally generating a stunning image, but most of the time the results are either "a bit off" or "completely derailed." The problem lies not in the model, but in the "way of communication" between you and the model.
This article aims to solve this problem. I will start from the most basic prompt structures and gradually delve into edit flows, multi-image composition, failure diagnosis, and parameterized template systems. The ultimate goal is to help you build a stable, reusable, and batch-processable prompt workflow.
Level 1: Pure Text Generation Prompt Structure
This is the most basic usage—you have no real product photos and rely entirely on text descriptions to let the AI generate images. It is suitable for concept art, pre-sale visuals, or the phase where you need to sell the story before having the physical product.
Core Framework: Four-Part Structure
After extensive testing, I found that organizing prompts in the following order yields the most stable results:
[Scene/Background] → [Product Subject] → [Key Details] → [Constraints]Why does this order work? Because GPT Image 2 assigns the highest weight to the beginning of the prompt. If you put the "Scene" first, the model will first establish the overall visual context; putting the "Product Subject" second allows the model to depict the product within the correct context; "Details" supplement the precision; and "Constraints" define the boundaries.
Conversely, if you start with details (e.g., "30ml frosted glass bottle, silver dropper cap"), the model might start rendering details before establishing the correct visual context, leading to an overall style deviation.
Practical Example: Beauty Serum White Background Main Image
Purpose:
Shopify PDP Main Image

Subject:
A 30ml glass dropper serum bottle, frosted transparent glass body, milky white liquid, silver metal dropper cap, minimalist high-end skincare brand tone.

Background:
Pure white seamless background.

Composition:
Front-facing, turned slightly 10 degrees to the left, subject centered, occupying 90% of the frame, light natural contact shadow.

Lighting:
Soft diffused studio lighting, controlled specular highlights, clear glass edges, realistic visible liquid.

Details:
Realistic glass thickness, flat label, natural liquid viscosity, clean metal reflection.

Constraints:
No petals, no leaves, no extra props, no fictional logos, no extra text, no watermarks.

Output:
1024x1024, quality=medium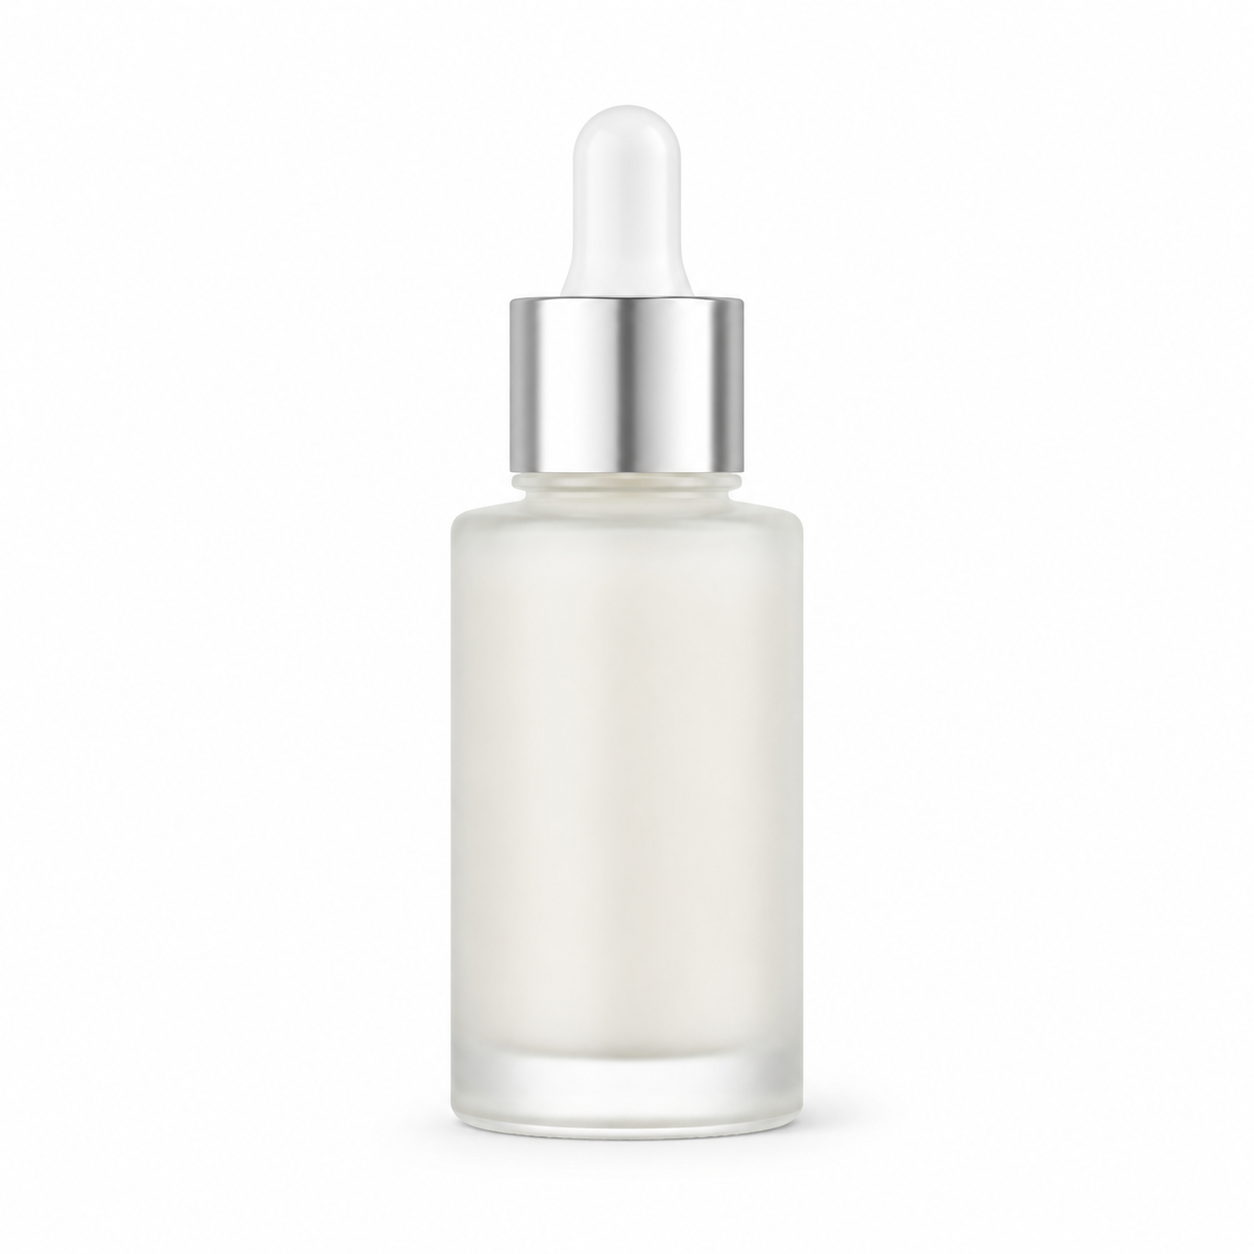
A few key points in this example are worth noting:
"Turned slightly 10 degrees to the left" is better than "Front-facing." A completely front-facing angle easily looks rigid, while a slight rotation adds a three-dimensional feel.
The term "controlled specular highlights" is crucial. If you don't include it, the AI might add exaggerated reflections to the glass bottle, making it look like an advertising poster rather than a product image.
The constraint clause lists six "No"s. These are not nonsense—each one was added after I learned from mistakes. "No petals" is because the AI particularly likes to add petal decorations next to skincare products; "no fictional logos" is because it will take the liberty to invent a brand identifier for you.
Level 2: Edit Flow—Modifying Based on Real Photos
When you have real product photos, the edit flow is much more stable than the pure generation flow. This is the most recommended usage in e-commerce scenarios.
Core Logic of the Edit Flow
The edit flow is not "asking the AI to draw a new picture," but "asking the AI to make specific modifications to an image you already have." This sounds simple, but many people write edit prompts the wrong way.
Incorrect example:
Make this product image look more premium, change the background to a bathroom scene.
The problem with this prompt is that "more premium" is too vague, and the AI doesn't know exactly what you want to change. It might change things you don't want changed (like the bottle shape) while failing to change what you do want changed (like the lighting).
Correct example:
Change only the background and environmental lighting. Replace the background with a white marble bathroom countertop, with natural window light coming from the left. Keep the product's geometry, color, label layout, scale, material, and brand identity details completely unchanged.
The key difference is: explicitly listing "what to change" and "what not to change."
Edit Flow Prompt Template
Input:
Image 1 = [Real product front-facing image]

Task:
Place the product in Image 1 into [Specific scene description].
Change only the background, environmental lighting, props, and lens context.
Keep the product's geometry, color, label layout, scale, material, and brand identity details unchanged.

Composition:
[Half-body close-up / Desktop close-up / Vertical composition / Horizontal composition]
The subject remains the visual center of the frame, leaving [left/right] negative space.

Lighting:
Match the scene's natural light, ensuring contact shadows, reflections, and scale relationships are realistic.

Constraints:
Do not alter the product itself, do not add new text, logos, or watermarks, do not change the packaging content.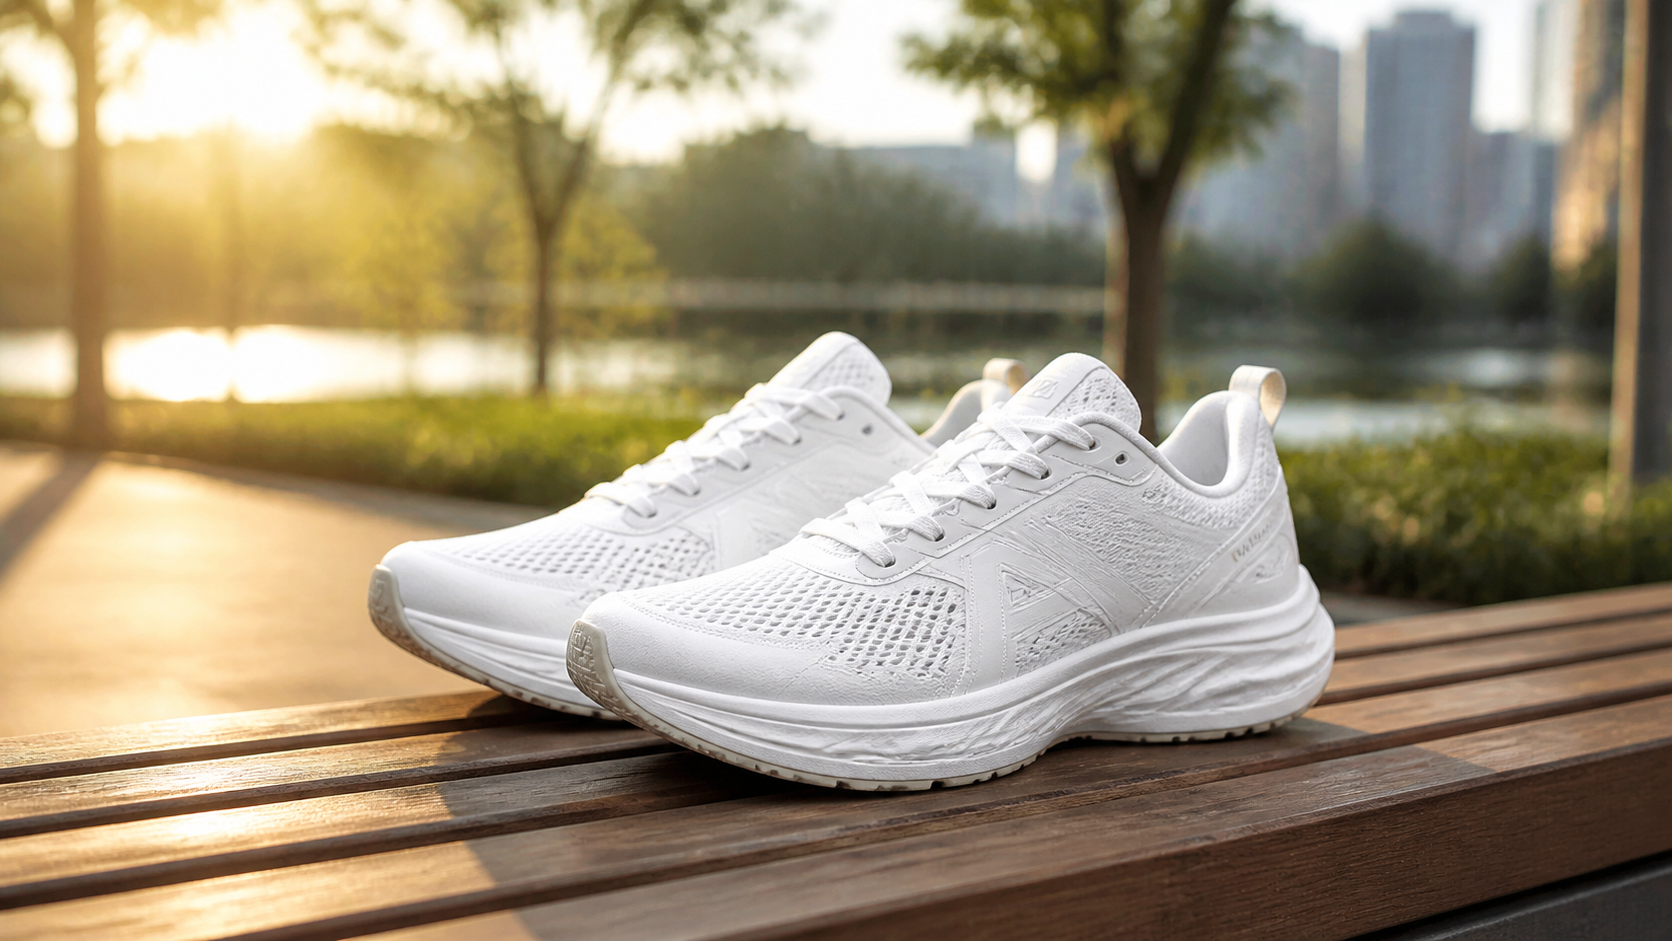
The "Single Variable Iteration" Principle of Edit Flow
An official tuning method explicitly recommended by OpenAI is: Change only one variable at a time; do not rewrite the entire paragraph.
For instance, if you are unsatisfied with the generated scene image, don't scrap the whole prompt and start over. Instead, change just one dimension:
- "Make the lighting softer, but do not change the composition and scene."
- "Change the background from a bathroom to a bedroom, keeping everything else unchanged."
- "Change the horizontal composition to a vertical composition, keeping the product position and lighting unchanged."
The benefit of this single variable iteration is that you know exactly which change brought about the effect difference, rather than conducting a "control variable" experiment every time.
Level 3: Multi-Image Composition—Advanced Usage
GPT Image 2 supports inputting multiple reference images simultaneously and outputting a combined result according to your specified relationship. This is the most powerful but also the most error-prone usage in e-commerce scenarios.
Typical Scenarios for Multi-Image Composition
Scenario 1: Real Product + Hand Model Posture
Input:
Image 1 = Real product image
Image 2 = Hand model holding posture reference image

Task:
Display the product from Image 1 in the hand according to the holding method in Image 2.
The product itself must retain its realistic color, geometry, and label position.
Match the perspective, scale, shadows, and color temperature to make the result look like a single real photoshoot.

Constraints:
Introduce only necessary props; do not add misleading accessories; do not add new text, logos, or watermarks.
Scenario 2: Real Product + Scene Reference + Style Reference
Input:
Image 1 = Real product image
Image 2 = Target scene reference image
Image 3 = Lighting/atmosphere reference image

Task:
Place the product from Image 1 into the scene from Image 2, rendered according to the lighting style of Image 3.
Keep all details of the product itself unchanged.
Match the perspective, scale, and tonal relationships among the three images.
The Most Common Mistakes in Multi-Image Composition
Unclear reference relationships. If you don't explicitly say "Image 1 is the product, Image 2 is the scene," the model will guess on its own. The probability of it guessing correctly is not high.
Too large a style gap between input images. If your product image is a studio shot on a white background, and the scene reference image is a casual lifestyle photo taken with a phone, the lighting and color temperature will completely mismatch, resulting in a very jarring composite. Try to keep the lighting conditions of the input images close.
Asking for too much. Three input images are already quite a lot. The more inputs, the more information the model needs to balance, and the higher the probability of errors. If you can solve it with two images, don't use three.
Level 4: Failure Diagnosis—How to Fix Problems When They Arise
The most valuable part of prompt engineering is not "how to write a good prompt," but "how to quickly locate and fix problems when they occur."
Here are common failure patterns I have accumulated in practice and their corresponding fixes.
Failure Pattern 1: Product Shape Distortion
Symptom: The bottle shape changes, the shoe last is crooked, or the headphone case is deformed.
Cause: During pure text generation, the model has deviations in understanding geometric details.
Fix: Switch to the edit flow, using a real product photo as an anchor. Add "preserve exact geometry" to the prompt.
Failure Pattern 2: Color Deviation
Symptom: A silver cap turns gold, or milky white liquid turns pale blue.
Cause: The text description of the color is not precise enough, or the model misunderstands the color words.
Fix: Provide a real product reference image. If you must use text descriptions, use specific color references rather than vague adjectives—writing "silver metal" is better than "metallic color," and writing "Pantone 7541 C light gray" is better than "light gray."
Failure Pattern 3: Invasion of Redundant Elements
Symptom: Petals, leaves, water drops, brand logos, or extra text inexplicably appear.
Cause: The model "associates" common elements based on the category. Adding petals next to skincare products or water drops next to beverages—this is "common sense" the model learned from its training data.
Fix: Explicitly exclude them in the constraints clause. "No petals, no leaves, no water drops, no fictional logos, no extra text." The more specific these constraints are, the better.
Failure Pattern 4: Lighting Mismatch
Symptom: The lighting direction on the product is inconsistent with the lighting direction of the background, making it look photoshopped.
Cause: The edit flow did not explicitly state a lighting match requirement.
Fix: Add "match the lighting direction and color temperature of the scene" to the prompt.
Failure Pattern 5: Hand Model Deformity
Symptom: The number of fingers is wrong, the wrist is twisted, or the holding posture is unnatural.
Cause: AI generating human hands is still a recognized difficulty.
Fix: Explicitly write out the number, position, and posture of the hands. "One adult hand, natural grip, short clean nails, no rings, crop at wrist." Do not let the model decide the hand details on its own.
Level 5: Category Differences—Prompt Focus for Different Products
Although both are "product images," the way prompts are written for different categories varies greatly. Here is a breakdown of key prompt differences by category.
Apparel: Focus on "Wearing State"
The biggest fear for apparel is the AI generating the clothes looking "hung on a hanger" rather than "worn on a person." Prompts must be explicit about:
- The model's body type and posture.
- The drape and fold direction of the clothing.
- The texture of the fabric (softness of cotton, luster of silk, stiffness of denim).
- "Do not change the cut and fit of the clothing."
Footwear: Focus on "Structural Accuracy"
The core difficulty with footwear is the shape of the shoe last and the sole pattern. Prompts must be explicit about:
- Orientation (Amazon requires facing left).
- Angle (45 degrees is standard).
- Clarity of the sole pattern.
- "Keep the shoe shape, shoe last, upper material, and color block distribution unchanged."
Jewelry: Focus on "Lighting Control"
The success or failure of jewelry images lies in the lighting. Prompts must be explicit about:
- "Controlled specular highlights"—to prevent overexposure.
- "Realistic macro"—to ensure facet details.
- "Undistorted metal"—to prevent silver from turning white or gold from turning yellow.
- "No mannequins, no busts"—a hard rule for Amazon's jewelry category.
Electronics: Focus on "Precise Interfaces"
Electronics have the lowest error tolerance. Prompts must be explicit about:
- Interface types and locations (USB-C, Lightning, 3.5mm).
- Button layout and markings.
- Indicator light colors and positions.
- "Prohibit adding any components not on the real product."
Home Goods: Focus on "Scale Perception"
Home products need to convey size through scenes. Prompts must be explicit about:
- Proportional relationships with reference objects (a pen next to a mug, a pillow on a bed).
- Authenticity of the usage scene (kitchen countertop, bathroom shelf, living room coffee table).
- Tactile description of materials (roughness of wood grain, smoothness of ceramics, softness of fabric).
Beauty: Focus on "Realistic Materials"
Beauty products have the richest material language. Prompts must be explicit about:
- Bottle body material (frosted glass, glossy plastic, metal).
- Content texture (viscosity of lotion, transparency of serum, thickness of cream).
- Packaging details (pump structure, dropper shape, cap material).
- "No extra floral decorations"—AI particularly likes to add flowers to skincare products.
Level 6: Building Your Parameterized Template Library
The ultimate goal of prompt engineering is not to "write from scratch every time," but to build a parameterized template library so anyone on the team can quickly generate images.
Field-Based Design of Templates
Break down the prompt into the following fields, filling in each independently:
category: [Category]
shot_type: [White background main image / Lifestyle image / Detail shot]
background: [Pure white / Specific scene description]
angle: [Front / 45 degrees / Top-down / Macro]
lighting: [Studio diffused light / Natural window light / Backlight / Controlled highlights]
props: [None / Specific prop description]
constraints: [No XX, No YY, ...]
output_spec: [Size, Quality tier, Format]
The Correct Way to Reuse Templates
Do not copy and paste the entire prompt paragraph. Instead, fix the template's skeleton (scene, composition, lighting, constraints) and only replace the product description part.
For example, if you have a mature "white background main image" template:
[Product Description], pure white seamless background, front-facing turned slightly 10 degrees to the left, subject centered occupying 90% of the frame,
soft diffused studio lighting, controlled specular highlights, natural contact shadow,
no extra props, no watermarks, no fictional logos, no extra text,
1024x1024, quality=medium
When switching SKUs, you only need to replace the [Product Description] field. Keep the rest unchanged. This ensures brand visual consistency while improving production efficiency.
Version Management and Traceability
Assign a unique ID to each prompt template and record the following information:
- Template ID and version number.
- Model snapshot version used.
- Generation parameters (quality tier, size).
- IDs of input reference images.
- Rating of output results.
This way, when you need to reproduce a certain image's style, troubleshoot why a version was rejected by a platform, or conduct regression testing after a model upgrade, everything is documented.
A Checklist of "Effective" vs. "Ineffective" Words
Finally, here is a quick reference guide to help you avoid those "seemingly useful but actually useless" prompt words.
Words That Truly Work
| Goal | Recommended Phrasing |
|---|---|
| Realistic Texture | professional product photography, realistic textures, true-to-life materials |
| Composition Control | centered product, front-facing, 45-degree angle, macro close-up, top-down |
| Lighting Description | soft diffused studio lighting, clean specular highlights, natural window light |
| Edit Stability | change only X, keep geometry/layout/color unchanged |
| Hand Model Control | one adult hand, natural grip, short clean nails, crop at wrist |
Words That Seem Useful but Perform Poorly
| Phrasing | Why It's Bad |
|---|---|
| 8K ultra realistic masterpiece | Vague keyword stuffing; the model doesn't know what specific effect you want. |
| Canon EOS R5 + 100mm macro | Camera parameters are "loosely interpreted" and have little impact on the output. |
| HDR, cinematic, award-winning | Too broad; easily makes the style lean towards an advertising poster rather than a product image. |
| best quality, highly detailed | Lacks specific direction; equivalent to not writing it. |
| Directly writing "in the style of [living photographer]" | The model will refuse, and it carries legal risks. |
From "Generating Images" to "Stably Generating Images"
Prompt engineering is not a one-time job, but a process of continuous iteration.
My advice is: start by generating a batch of images with the simplest prompts to find out what the "model's default performance in this category" looks like. Then gradually add constraints and details, observing the changes brought by each modification. Do not write a long, complex prompt right from the start—that will only make it impossible for you to determine which part worked.
Get it running first, then optimize. This is a universal solution for all engineering problems, and prompt engineering is no exception.
Want to try out the differences between various prompts yourself? Go to gpt-image2ai.net and run a few sets of comparisons using the same product with different prompts. You'll learn more from this than reading ten articles.